Showing posts with label diy. Show all posts

Thursday, April 18, 2013

cookie stands

last christmas, i gathered a basket of discarded christmas tree stems that had been trimmed from the bottom of the trees.  they all sat out back for a while (and my husband kept threatening to throw them away), but i finally made some little cookie stands out of them.  free wood, a little sanding, some white paint and glue.  and done.
so easy and they make me happy in that dorky way that crafts always seem to...


Thursday, April 11, 2013

i've always wanted a nice rack

hehehe.
that joke isn't mine.
neither is this project.
i saw the "nice rack" diy on armommy
and, after a little giggle, 
handed pete the directions 
and he put this right together for me.
so, miss dot may not have her own room or her own closet, but she has the cutest little rack you've ever seen to hang her own clothes on.
yes, sirree, it is mighty sweet.


Thursday, October 4, 2012

feather headbands.

as i have mentioned before, lucy is always looking for a good craft to pass the time.
we found this online and she was obsessed.

i have to say i am a little jealous of the kind of seven year old lucy is.
i would have been way too self-concious to wear this feather headband as i played by myself in the yard, painting rocks and pretending to read old books.
might have something to do with not having an older sister who makes you feel like you are childish and silly (no hard feelings to my own sister, it was my own insecurity that made me feel this way), but i totally dig her independent, imaginative, carefree ways.  
some feathers, fabric, elastic, fake jewels and an old granola box and you are good to go. 


Wednesday, September 5, 2012

painted rocks.

lucy and i like to play a little game where i let her click through my pinterest boards and then she picks something we can make together.  last weekend she decided on painted rocks.  considering my kids hand me an endless supply of rocks wherever we go to put in my pocket or my purse or the stroller or... you get the point.  needless to say, we had all the materials on hand for this one.  
i painted these three...

then, since i was feeling wildly outside my comfort zone (or really due to peer pressure from lucy that my rocks were boring and needed some color), i spruced one up a bit...

and i am happy to say that not only are they pretty, they can be quite useful.
bringing back the paper weight.
everyone can be expecting these for christmas...


and, one next to my bed just for good measure...


made anything fun from pinterest lately?

Wednesday, August 17, 2011

lovely lights.

how great are these mason jar lights? 
love the cluster and mix of colors.
would love to try this over a desk in my house.
someday.

Thursday, July 28, 2011

pennants

so, i am a little obsessed with the blog 
scout's honor co. as of late.
i seem to love everything they post.
my favorite are the never-ending vintage pennants
they seem to find.
and so it was that i was inspired to make my own.

 *(if you wanted to skip the sewing and just go for the 
hot glue gun, it would still look super cute, i do believe)

 don't you think mini-pennants would be the cutest 
party favors? 
i just might have to plan a party around that idea...
i also think it would be fun to make
city pennants like this one.
aw, the possibilities are endless...

Wednesday, July 27, 2011

stripey tote tutorial.

 so i was in need of a new purse...bored of the one 
i was carrying so during an adventurous naptime the 
other day i found some ikea dish towels 
i bought a while ago and thought, aha. perfect.
so here goes.

step one:
go to ikea and buy a roll of stripey blue dish towels.


1. iron two dish towels in half. fold down to second stripe, 
iron down.

2. open each towel and cut off the top two blue stripes
to make a strap.


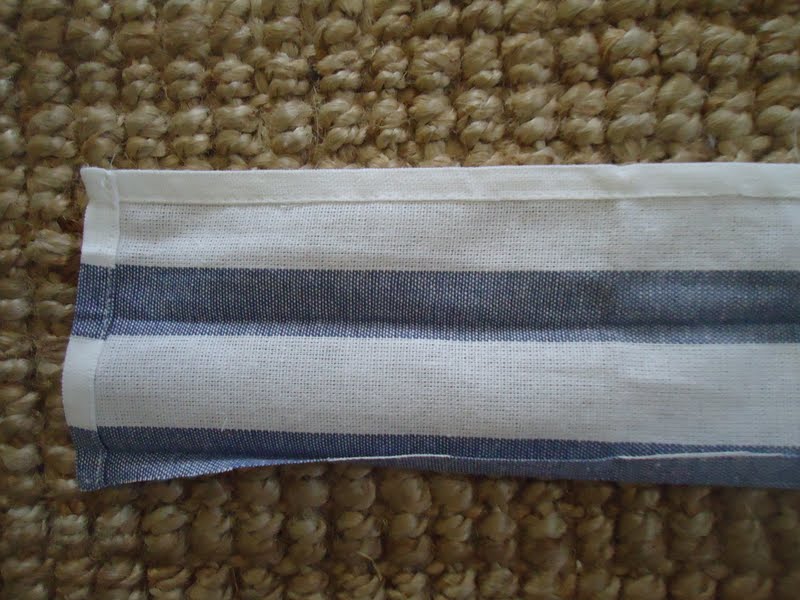
3. make straps. fold outer edges in 1/4 in. and iron down.
fold piece in half, iron and seam stitch together/down. 


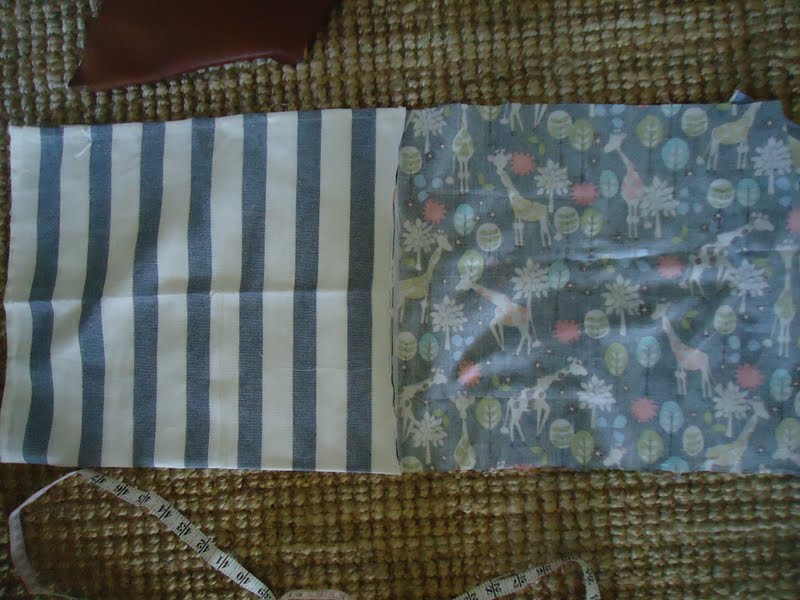
4. cut 2 lining pieces the same size as each cut 
towel. now stitch together the pieces with the lining piece
wrong side facing you. stitch to the top of the raw edge 
you had cut off. and then flip open, fold over and iron flat.


5. stitch down the sides and bottom.
6. stitch together the two pieces, stripes facing each other, lining facing out.
7. turn purse right side out and sew on straps to the inner lining. 
Voila! you have a happy purse! 

and ps. i added an inner zipper but it was totally against any sewing
rules so i left this part out of the tutorial. i just love having a secure place 
for keys/cell phone so i don't have to go scrambling around. 
thats not to say i still don't constantly lose my phone....
found it today inside of one of ruby's purses around 
7pm. nice.
hope you enjoy!

Saturday, July 23, 2011

dollhouse platform.

when i came across this i could not help but share. 
would this not be the most fun to make....
and display somewhere in the home? 
i may have to venture back to home depot soon....
that chair is too much.